Connecting Meta Lead Ads
Meta Lead Ads let you run ads on Facebook and Instagram with a built-in enquiry form — no website needed. This guide walks you through connecting those forms to Capture so every lead appears automatically as a new contact.
Before You Start
Make sure you have:
- Admin access to your Facebook Business Manager
- At least one live Lead Ad form created in Meta Ads Manager
- The exact name of your Lead Ad form noted down — you'll need this when mapping fields in Capture
- Admin access to your Capture account
If you haven't created your Lead Ad form in Meta yet, do that first. Make a note of the form name before you come back here — it's easy to mix them up if you have more than one.
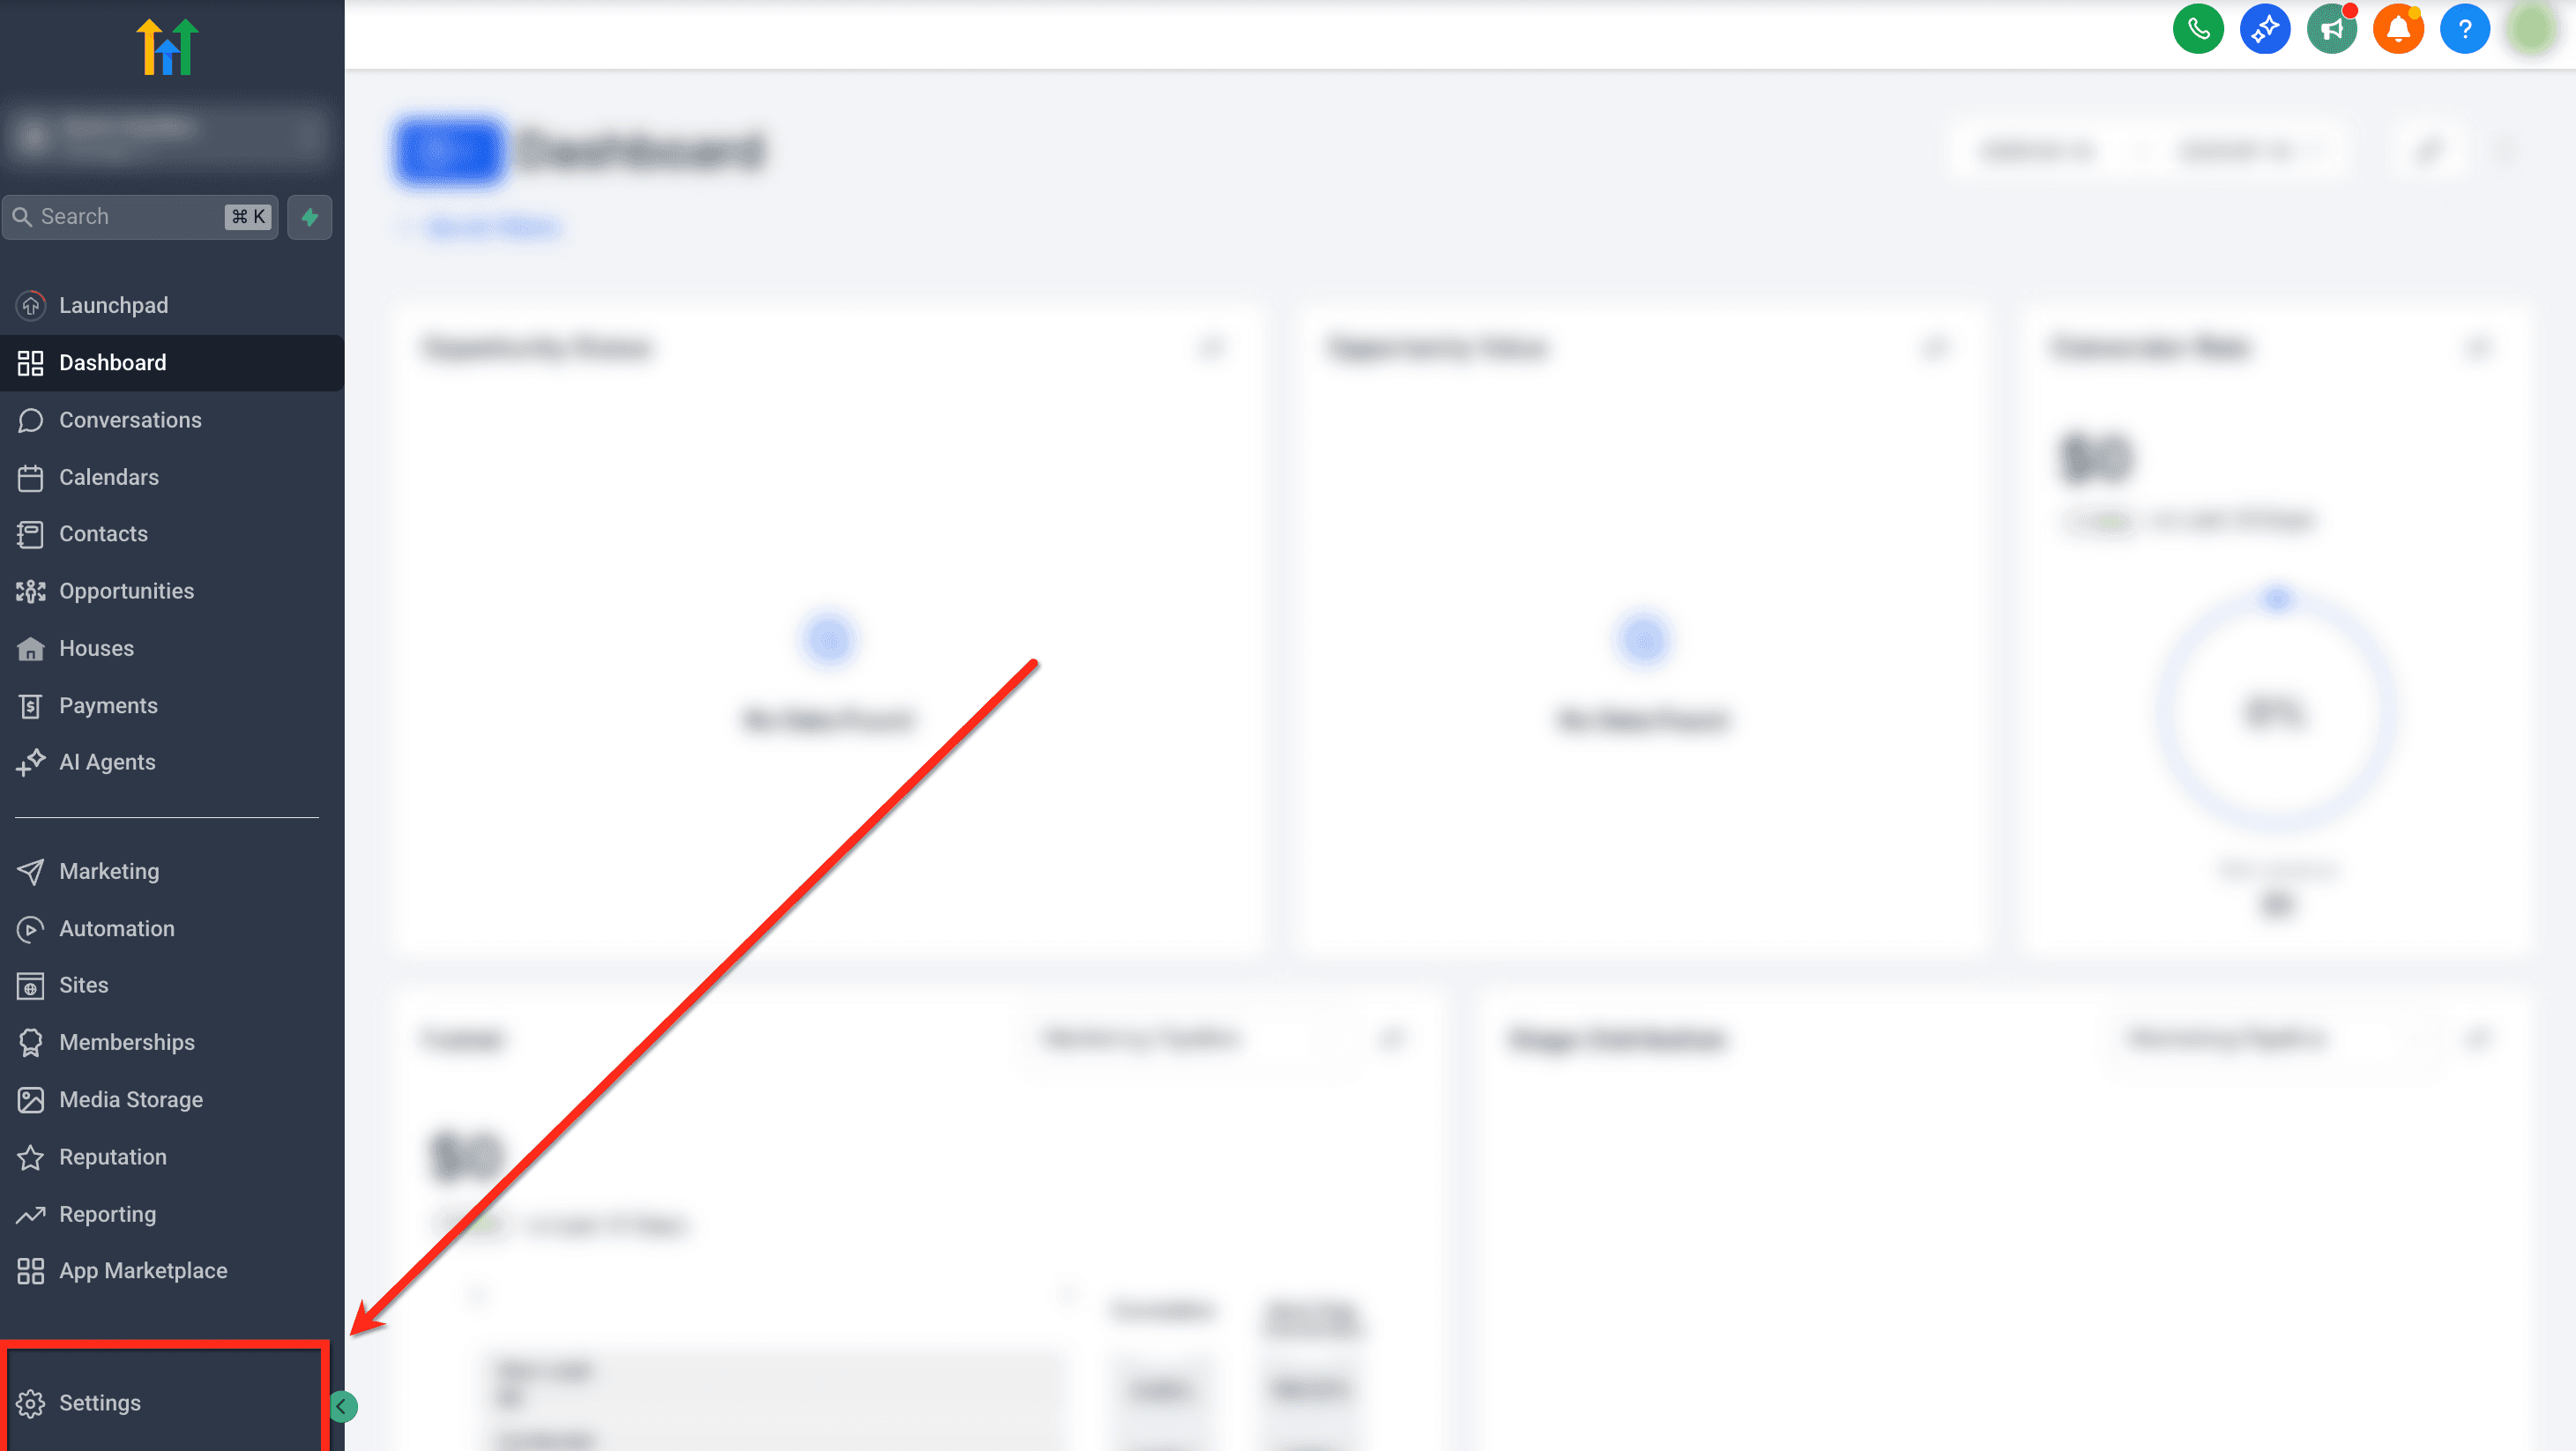
Step 1: Open Integrations in Capture
- In Capture, go to Settings in the left-hand menu
- Select Integrations
Step 2: Connect Your Facebook Account
- Find Facebook / Instagram and click Connect
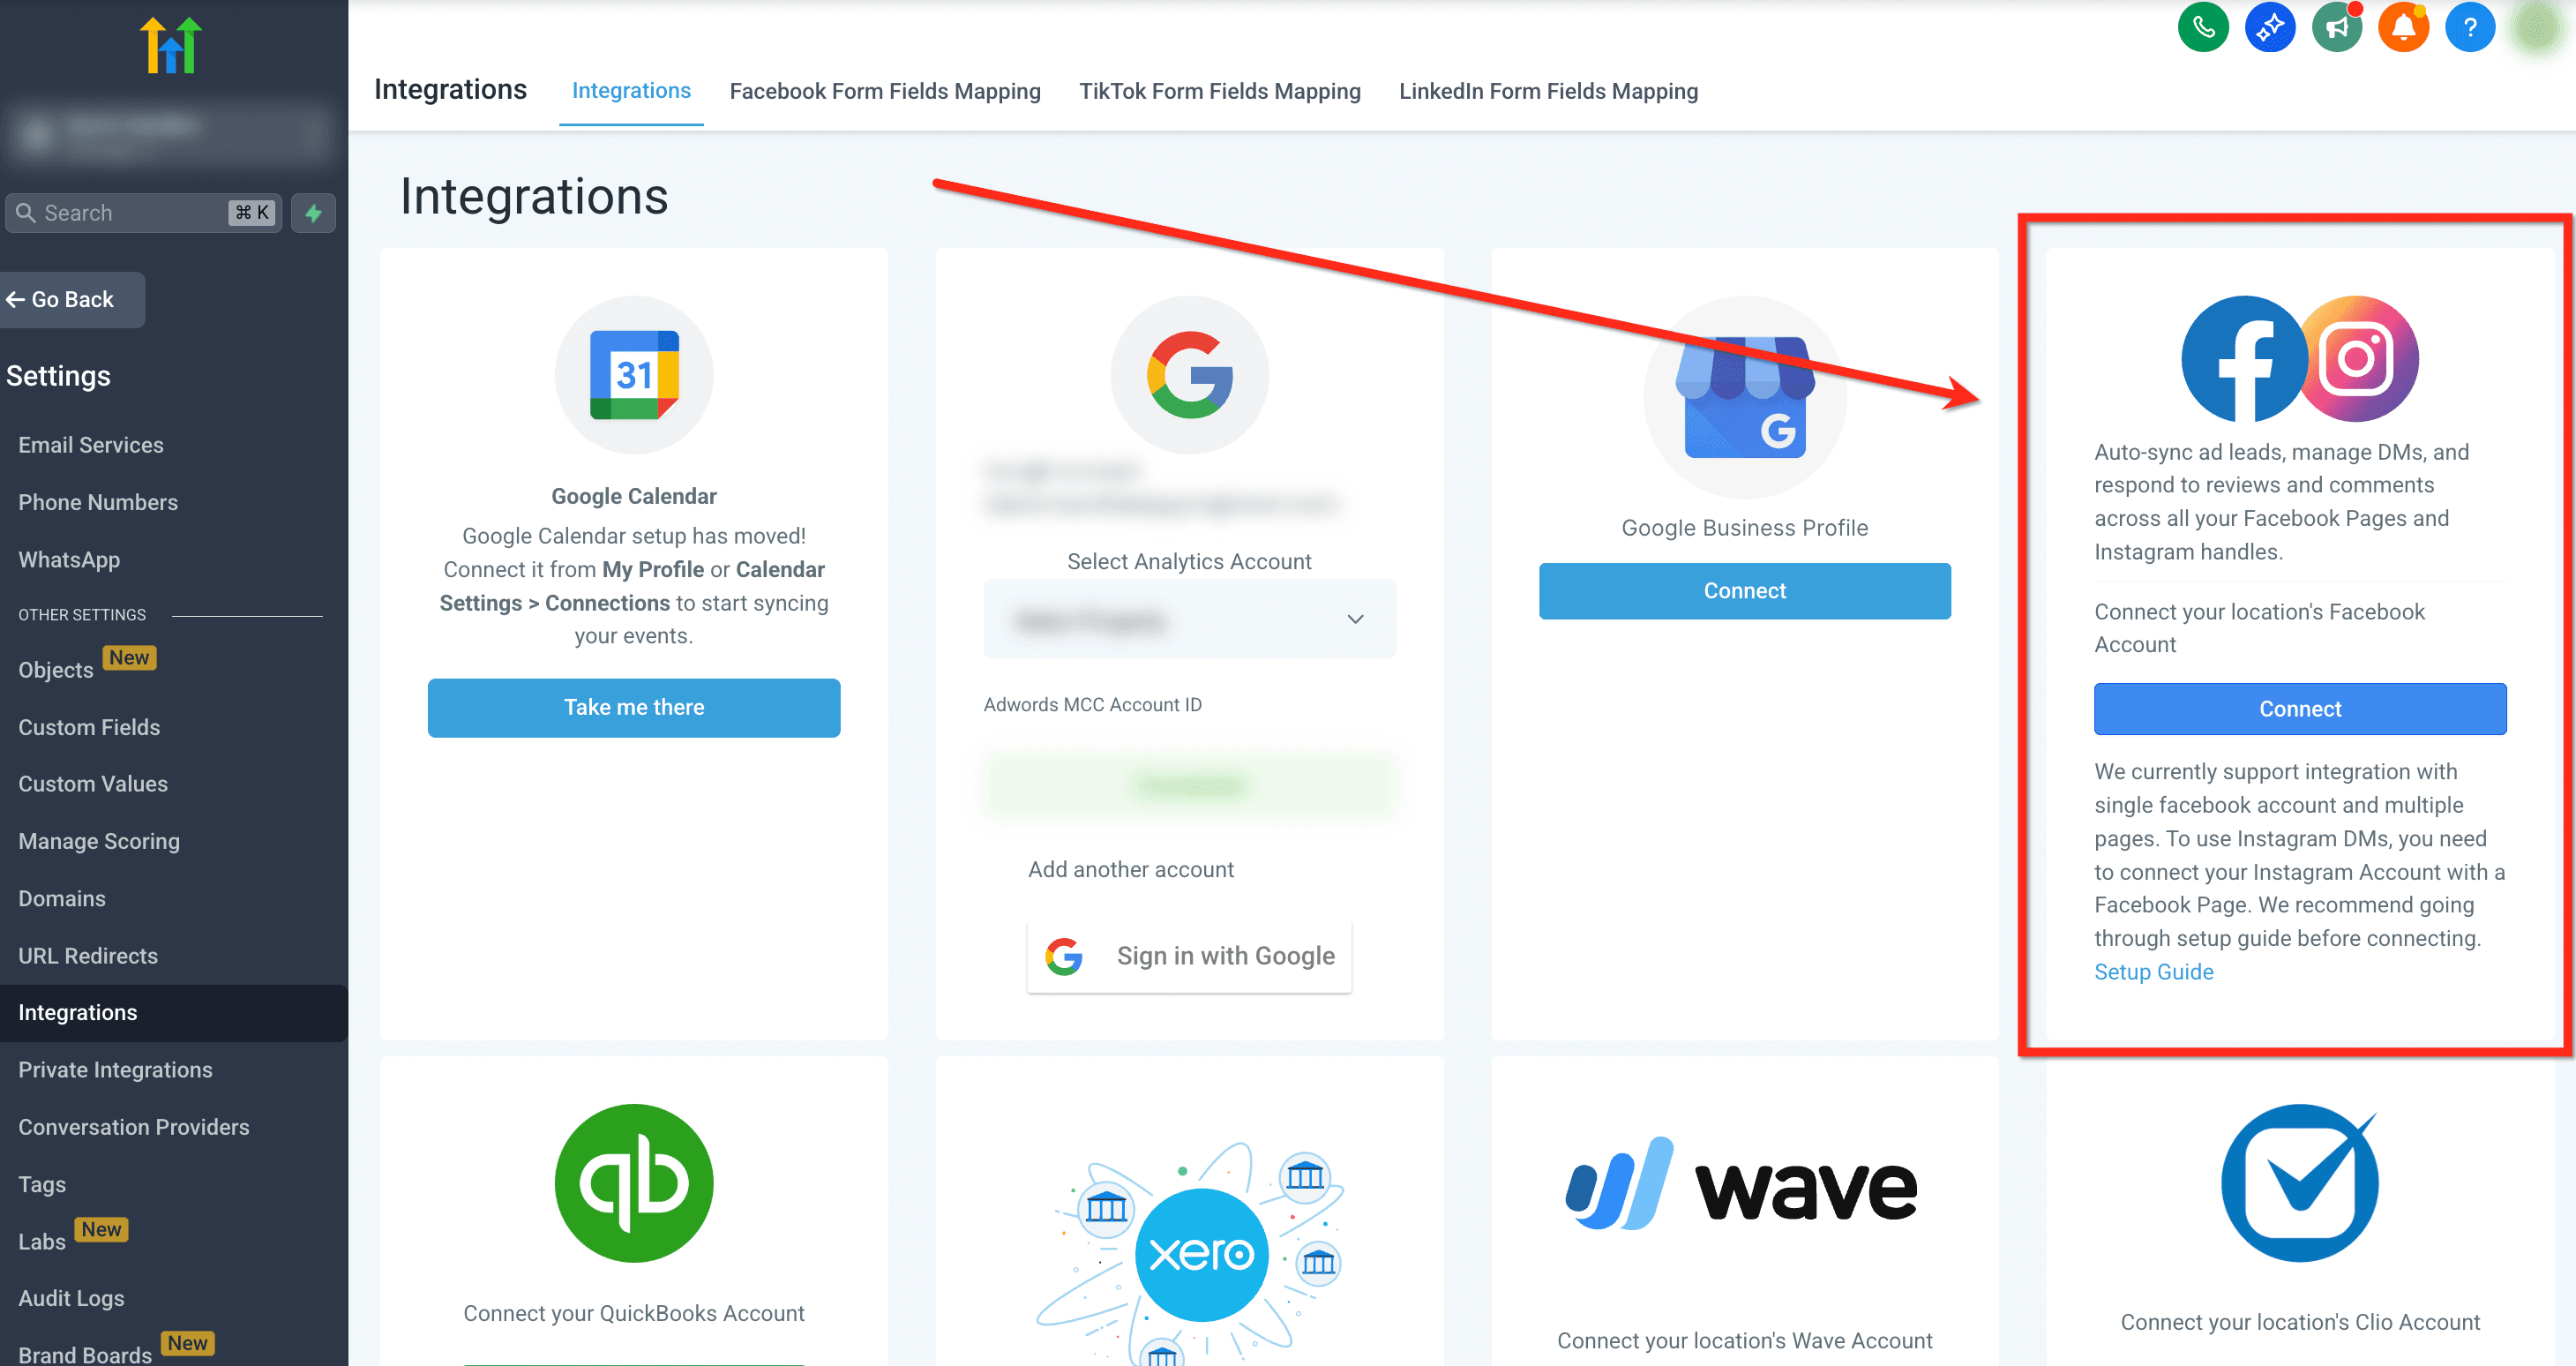
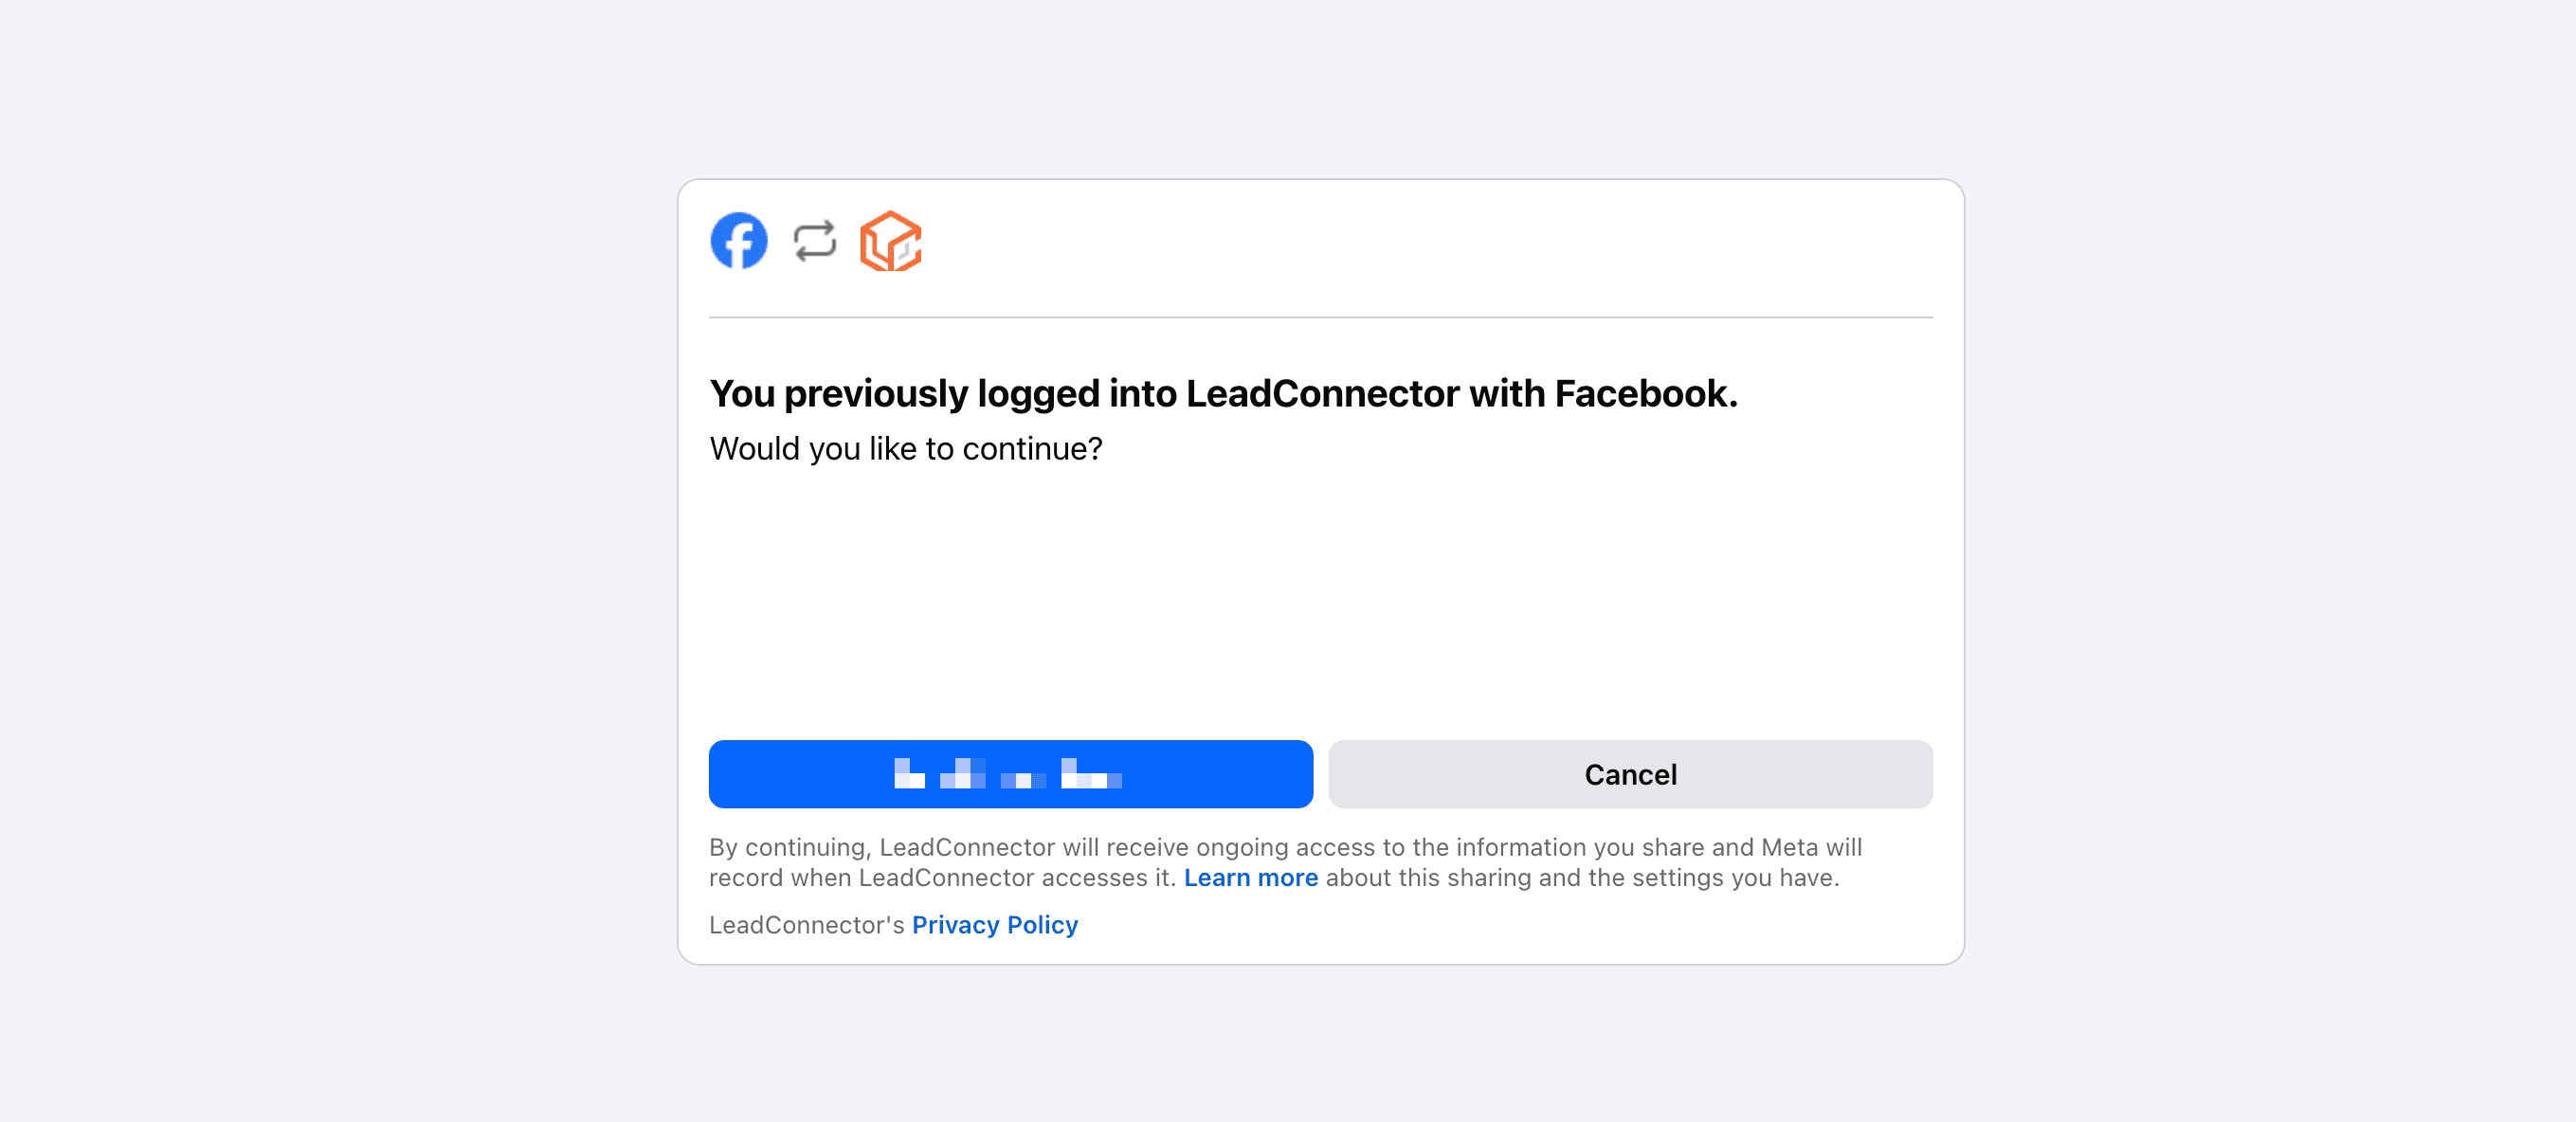
- A Facebook login window will appear — log in with the account that has admin access to your Business Manager
- Grant Capture permission to access your pages and ad account when prompted
- Click Done
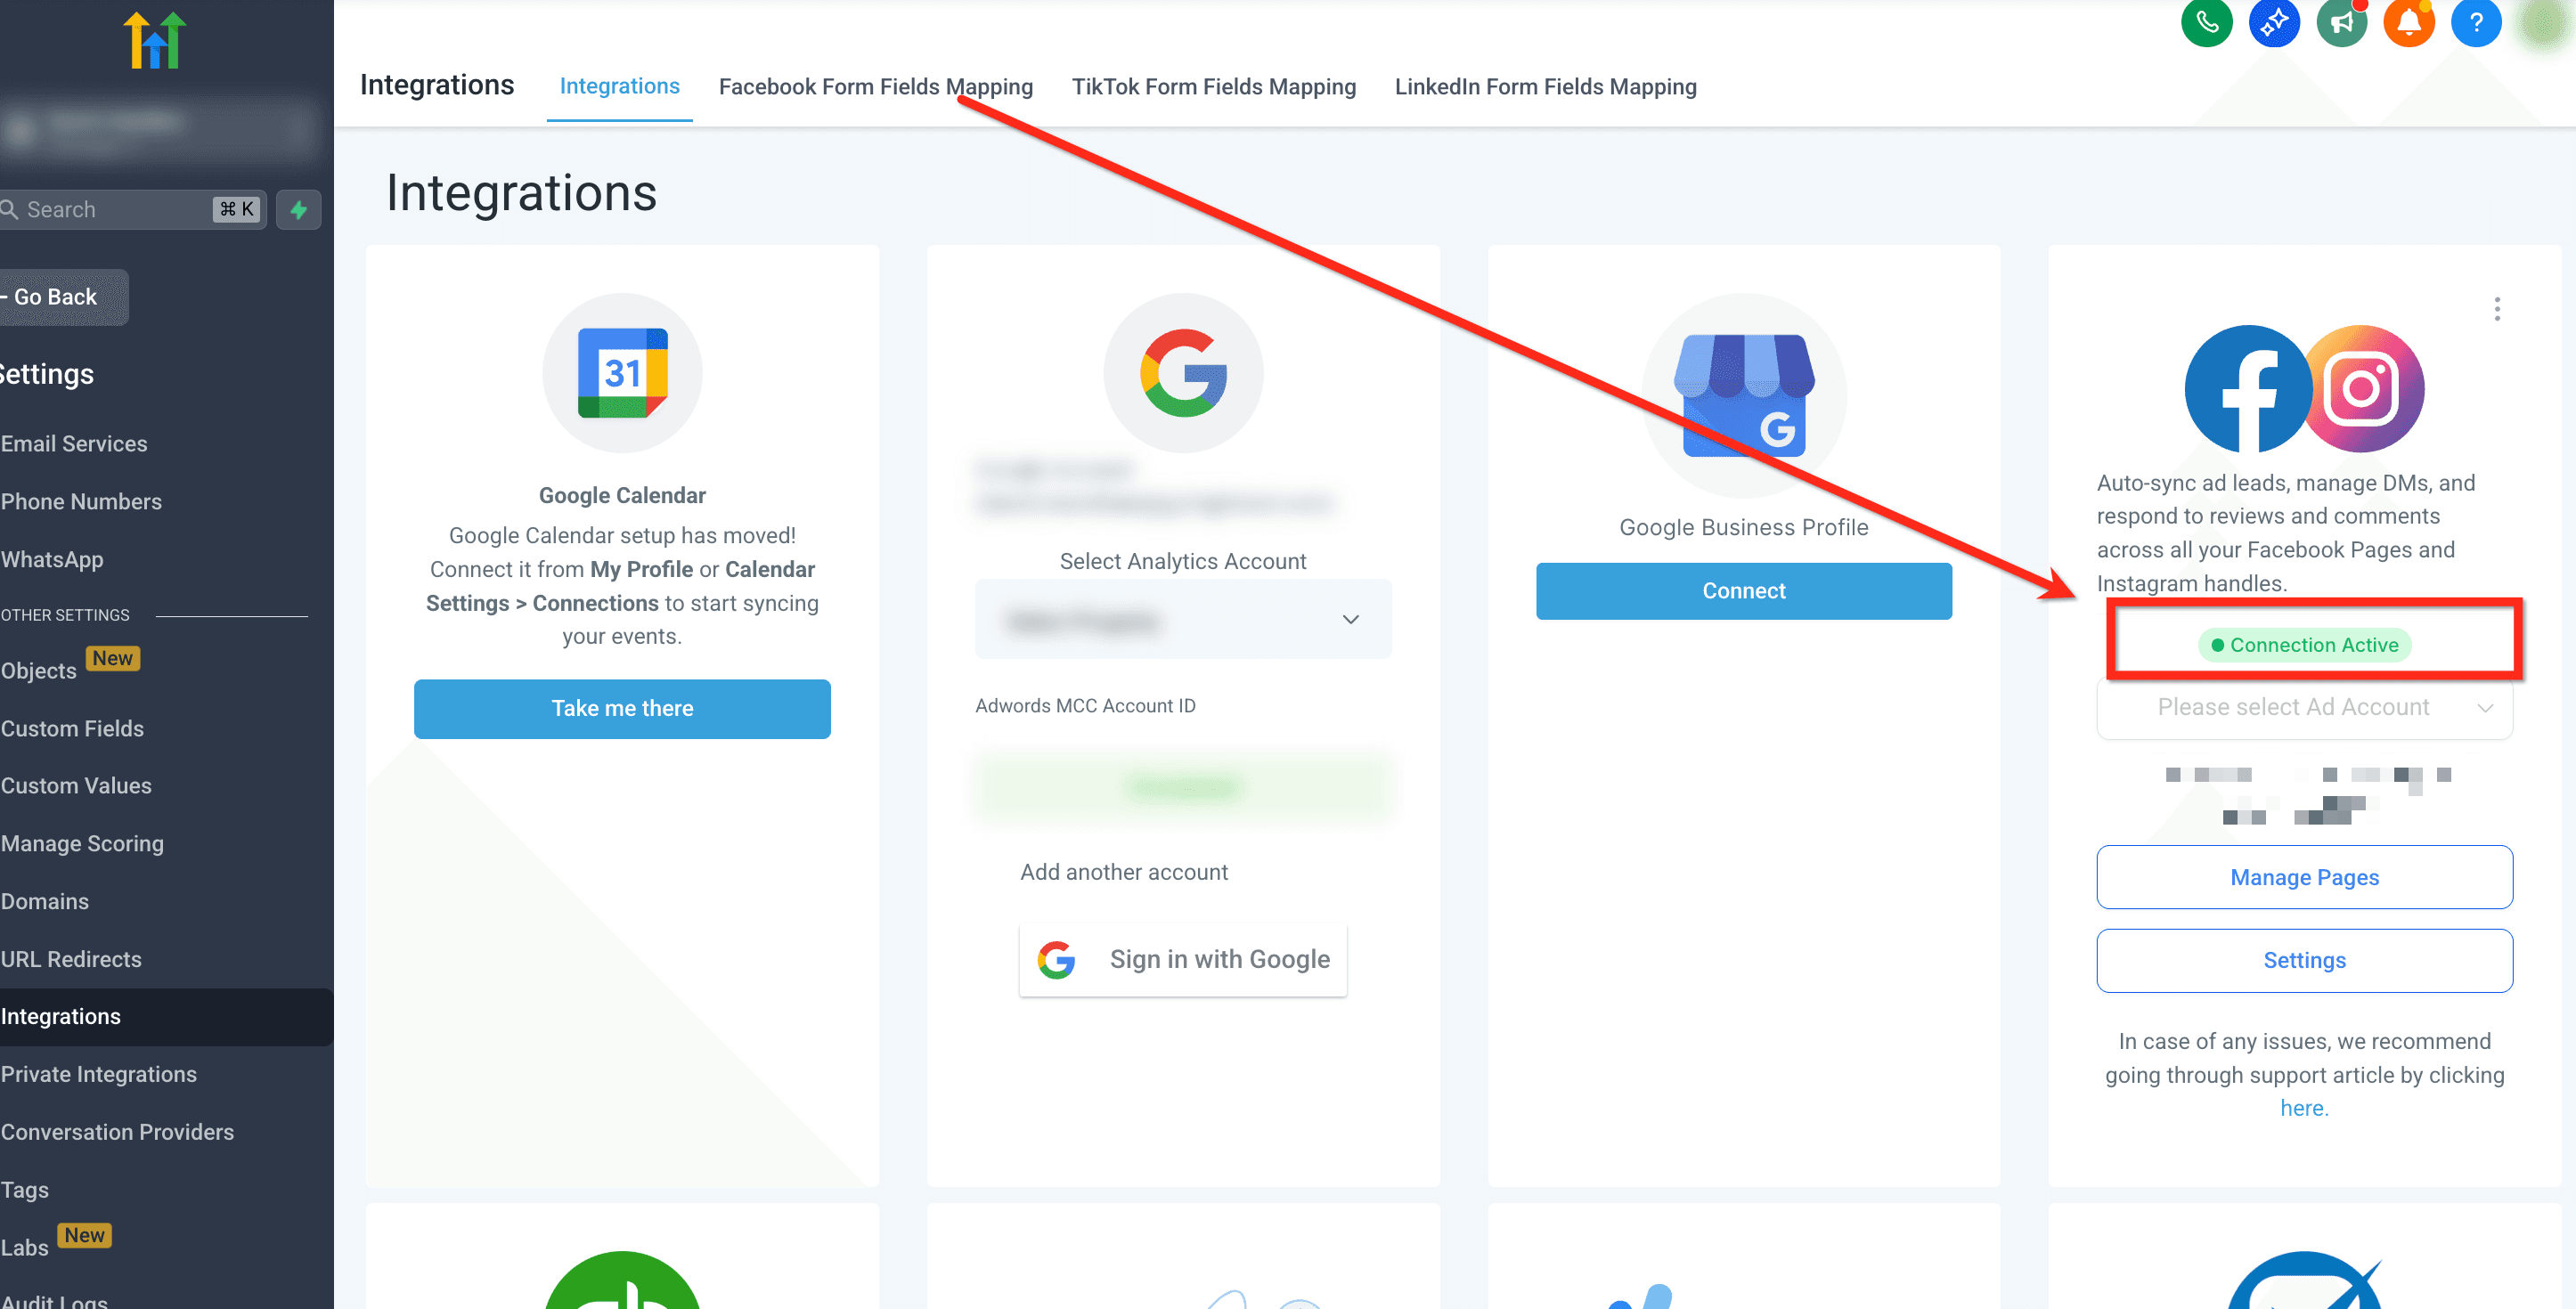
Step 3: Select Your Facebook Page
Once connected, you'll see your Facebook Pages listed. Toggle on the page your Lead Ads are running from.
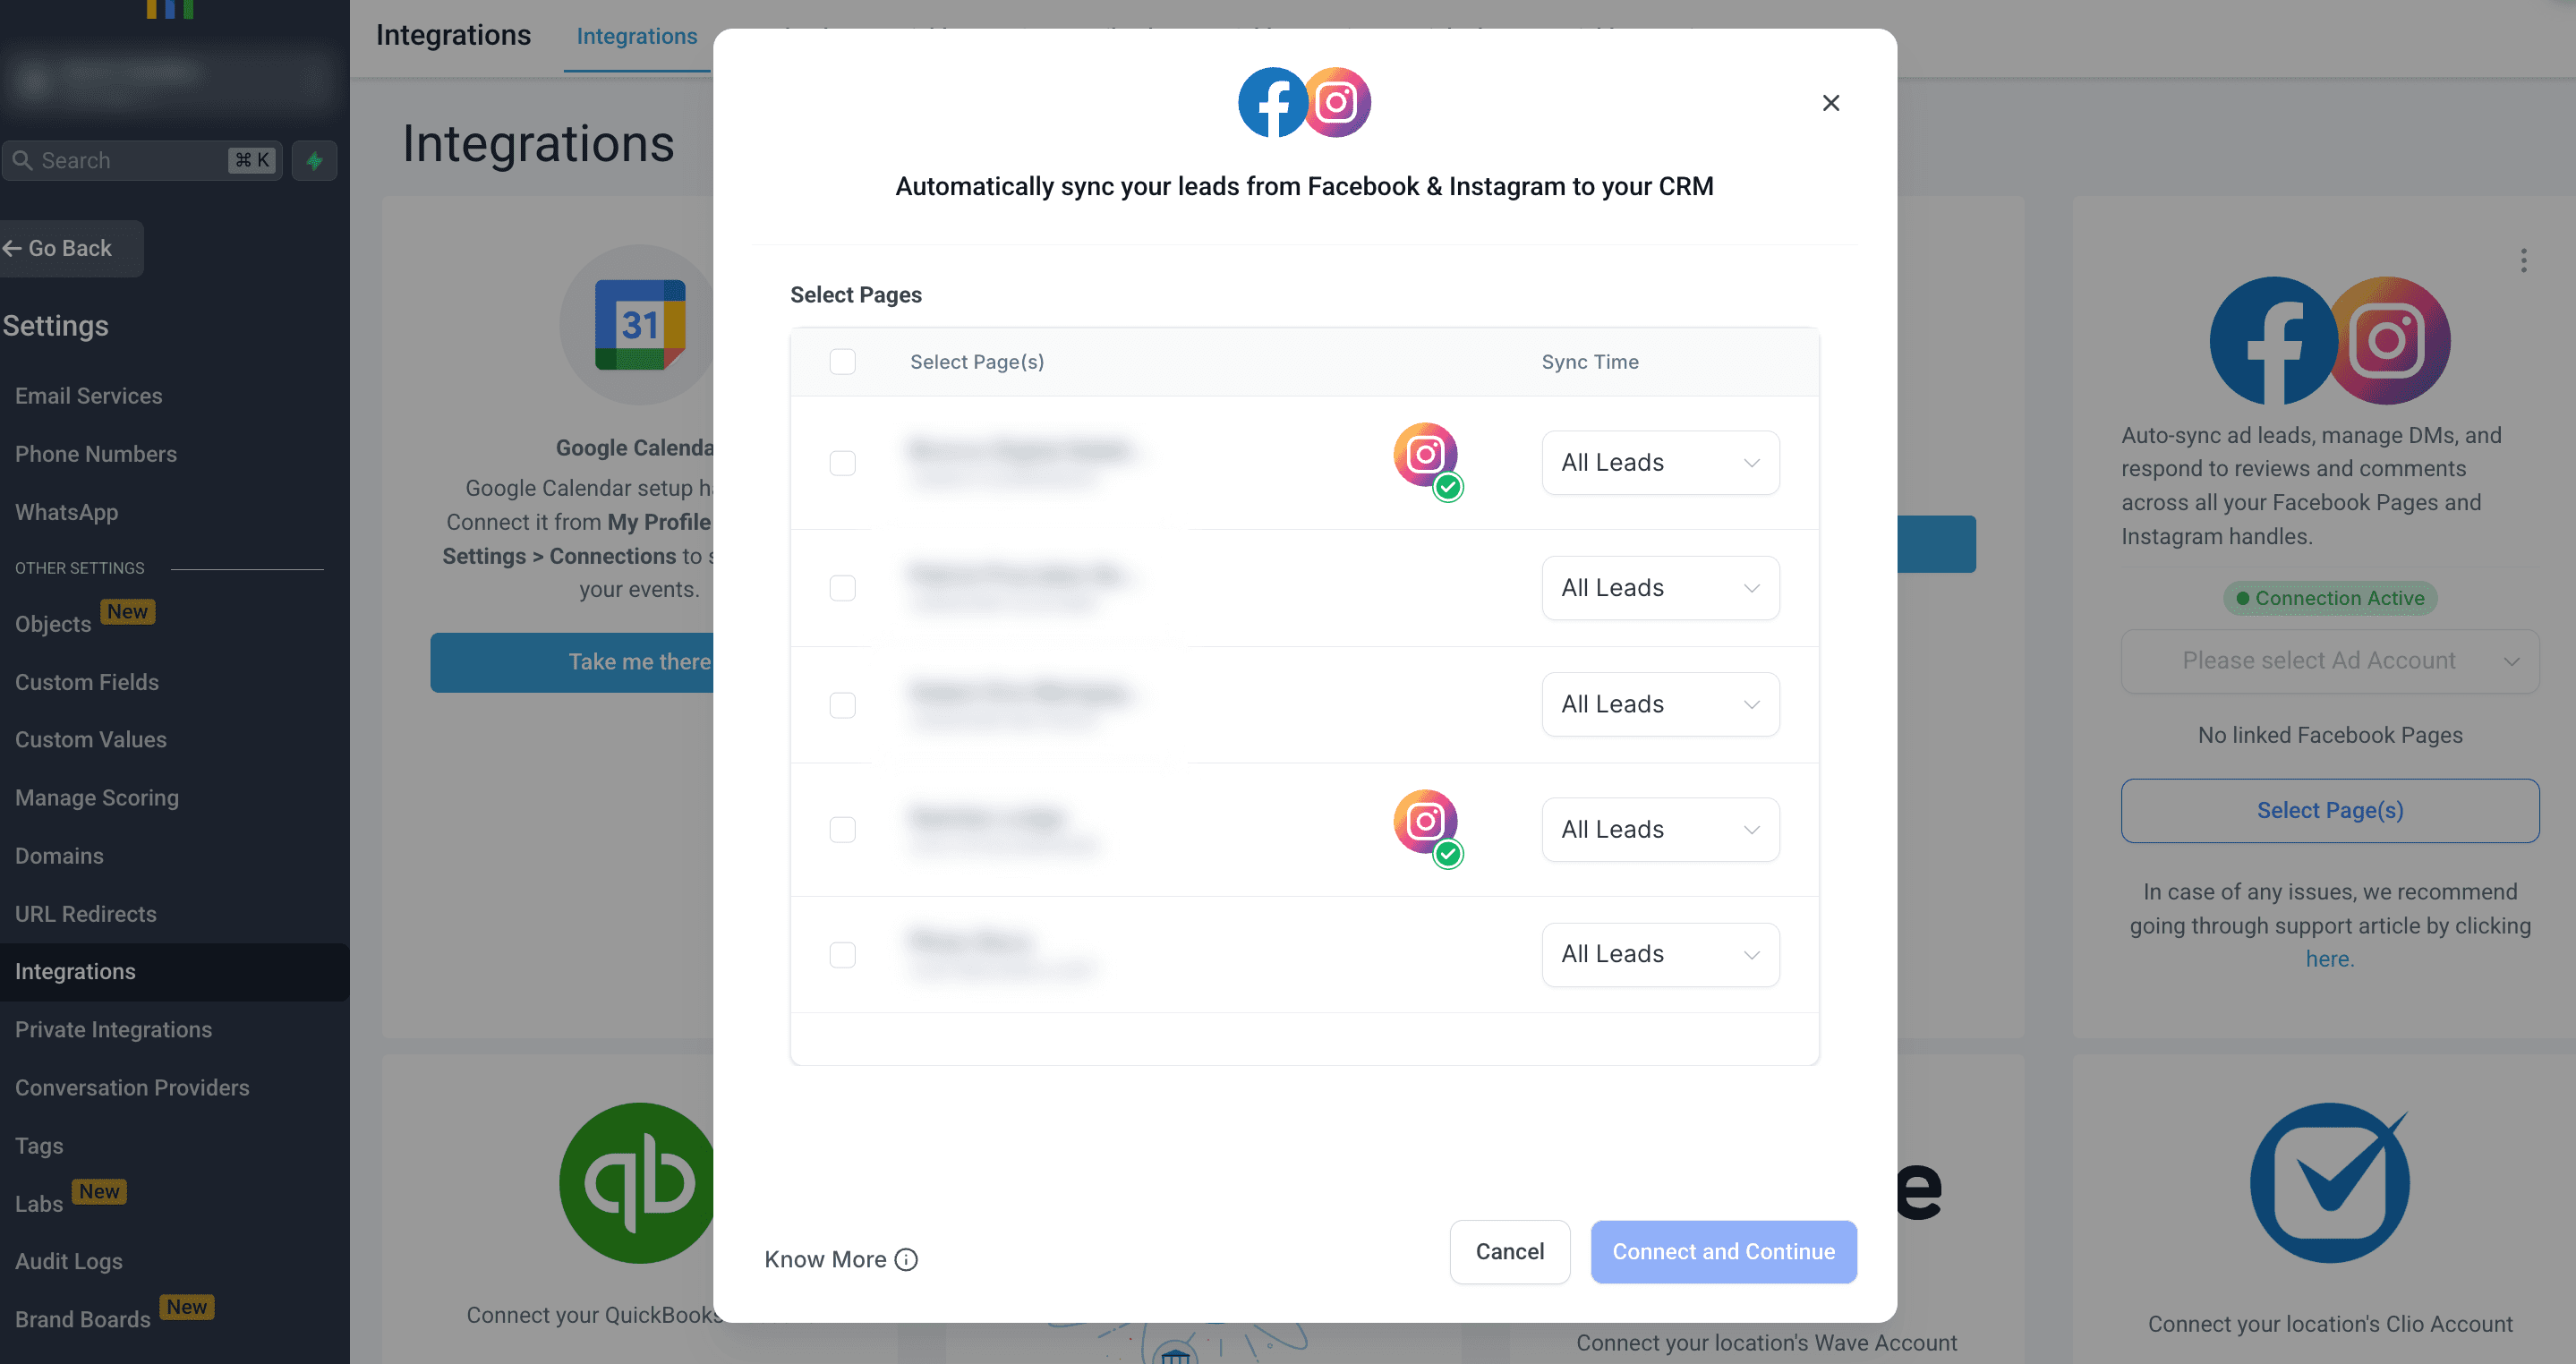
If you manage multiple pages, only toggle the one relevant to this club.
You'll also need to select your Ad Account from the dropdown — make sure this matches the account your campaigns are running under.
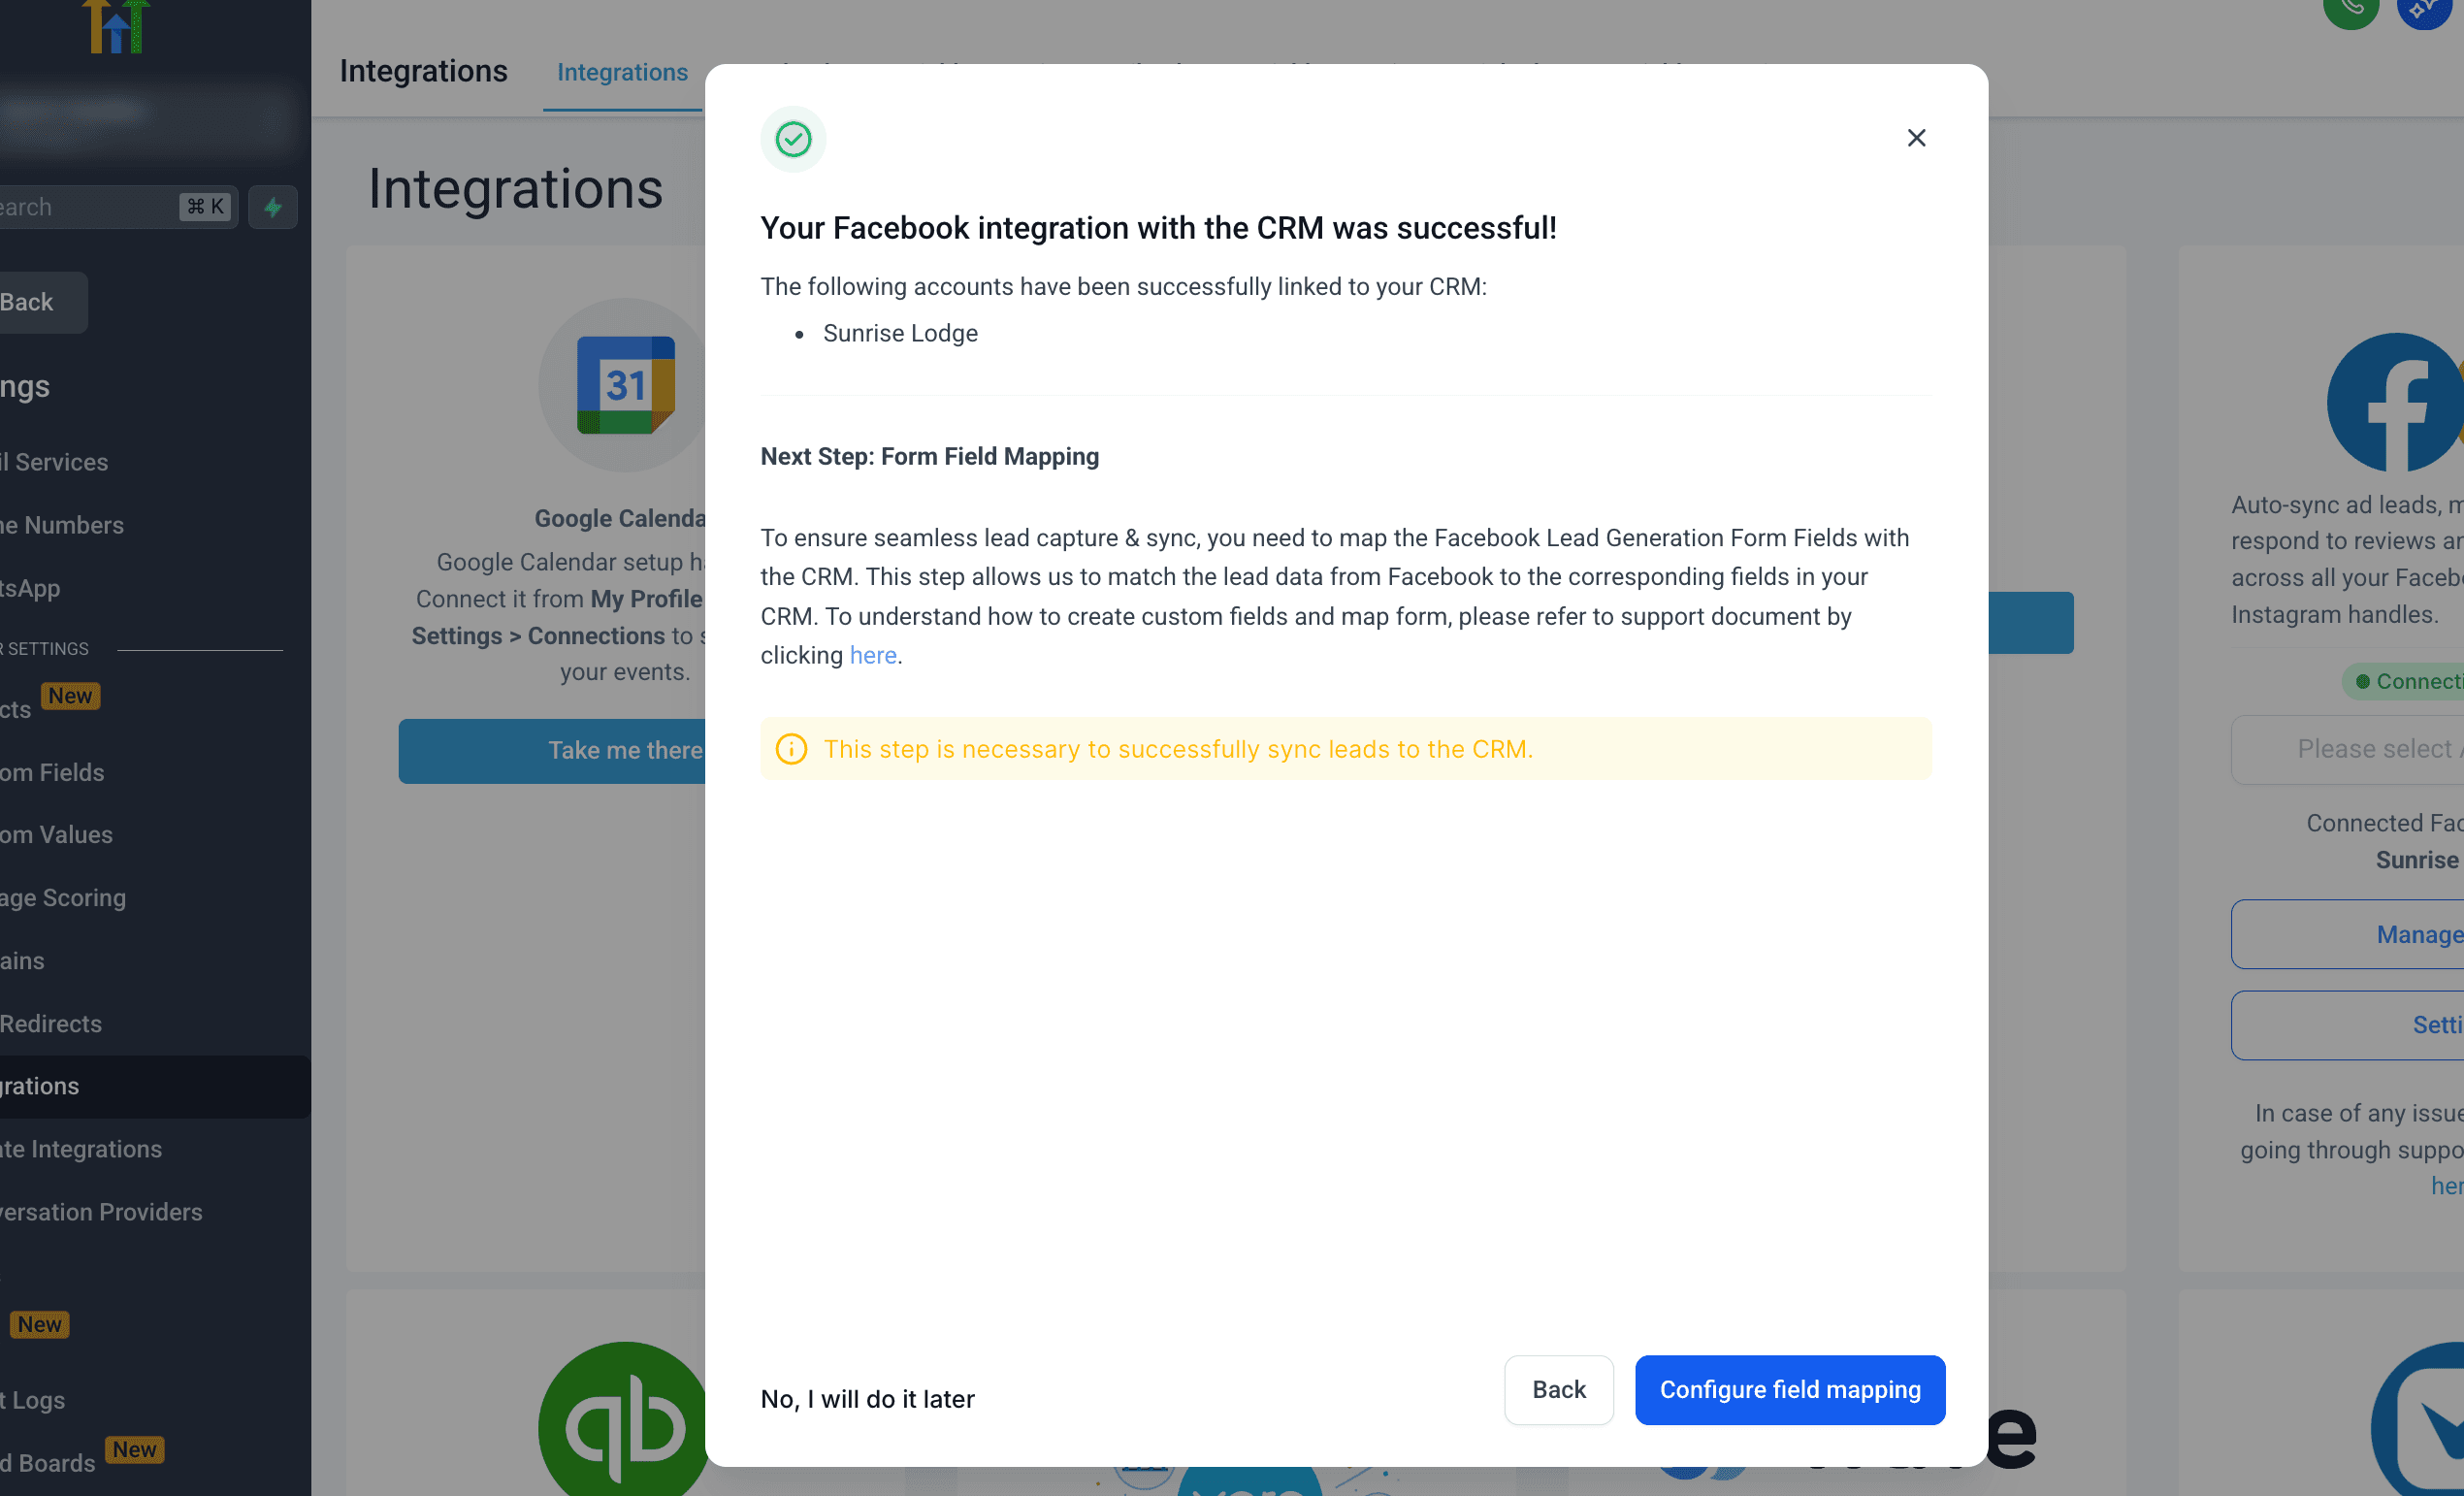
Step 4: Connect Your Lead Ad Form
- Click Manage next to your toggled-on page
- You'll see a list of your active Lead Ad forms — this is where the form name matters
- Toggle on the form(s) you want to connect to Capture
If you have multiple forms (e.g. one for membership, one for events), you can connect all of them. Just make sure you map the fields correctly for each one in the next step.
Note: You can also run Lead Ads through Messenger instead of Instant Forms. The connection process in Capture is identical — you'll see the same form name appear regardless of whether the ad uses a pop-up form or a Messenger conversation.
Step 5: Map Your Form Fields
This is the most important step. If you skip it or map incorrectly, leads will not appear in Capture. Every field must be matched before you save.
- Click Field Mapping next to your connected form
- Each question from your Meta form appears on the left
- Match each one to the correct Capture field on the right
Standard mappings:
| Meta Form Field | Capture Field |
|---|---|
| First Name | First Name |
| Last Name | Last Name |
| Phone Number | Phone |
Custom field mappings for golf clubs:
| Meta Form Field | Capture Field |
|---|---|
| What are you interested in? | Enquiry Type |
| Marketing consent / privacy policy | Marketing Consent (Meta Lead Form) |
| Campaign name (if used) | Lead Campaign Name |
| Any other custom question | FB_lead_[label] — create a Facebook Field for each custom question |
The Facebook Fields folder in your custom fields is specifically for Meta Lead Ad questions that don't map to a standard contact field. If you're collecting something unique to your ad (e.g. "How did you hear about us?"), create a FB_lead_ field for it first, then map it here.
Once all fields are mapped, click Save.
Step 6: Send a Test Lead
Before running your ads, test the connection:
- Go to Meta's Lead Ad Testing Tool
- Select your Page and your Form
- Click Preview Form, fill it in, and submit
- Go back to Capture and check Contacts — a new contact should appear within a minute
If the contact doesn't appear, check:
- The form is toggled on in the integration
- Field mapping is saved
- You're logged in with the correct Facebook account
What Happens Next
Once a lead submits your Meta form, Capture will automatically:
- Create a new contact record
- Apply the
Source-Facebooktag - Add them to the correct pipeline stage
- Trigger your follow-up workflow
For details on how the automation works, see Automating Lead Follow-Up.
Need Help?
Contact your Capture account manager or email james@crm.golf.