Automating Lead Follow-Up
Every time a new lead arrives in Capture — whether from Meta Lead Ads, a website form, or a manual entry — you can trigger an automated workflow that handles tagging, pipeline placement, and follow-up without any manual effort.
This guide covers how to set that up.
How It Works
When a new contact is created in Capture, a workflow fires instantly. That workflow can:
- Apply tags to categorise the lead
- Add them to the correct pipeline at the right stage
- Send them a confirmation email
- Notify your team
- Start a follow-up sequence (calls, texts, emails)
You set this up once. It runs automatically every time.
Step 1: Check Your Custom Fields
Your Capture account comes with the key fields already set up. For Meta Lead Ad leads, the relevant ones are:
| Field | What It Stores |
|---|---|
| Enquiry Type | What the lead is interested in (membership, society, events, etc.) |
| Marketing Consent (Meta Lead Form) | Whether they gave marketing consent via the Meta form |
| Lead Campaign Name | The name of the Meta campaign that generated the lead |
| FB_lead_[label] | Any additional custom questions from your Meta form |
These live in the Contact and Facebook Fields folders in your custom fields. If you need to add a new one, go to Settings > Custom Fields > Add Field, or see Custom Fields.
Step 2: Check Your Tags
Capture uses a structured tagging system. For Meta Lead Ad leads, the key tags are:
Source tags — applied automatically when a lead comes in from Facebook:
Source-Facebook
Interest tags — applied based on what the lead is enquiring about:
Interest-MembershipInterest-Membership-FlexiInterest-Membership-CorporateInterest-SocietyInterest-WeddingsInterest-Green-FeeInterest-LessonsInterest-Meetings-EventsInterest-General-Enquiry
Compliance tags — applied based on consent given in the form:
GDPR-Marketing-YesGDPR-Marketing-NoPrivacy-Policy-Accepted
Tag names are case-sensitive. Use the exact names above in your workflows and filters.
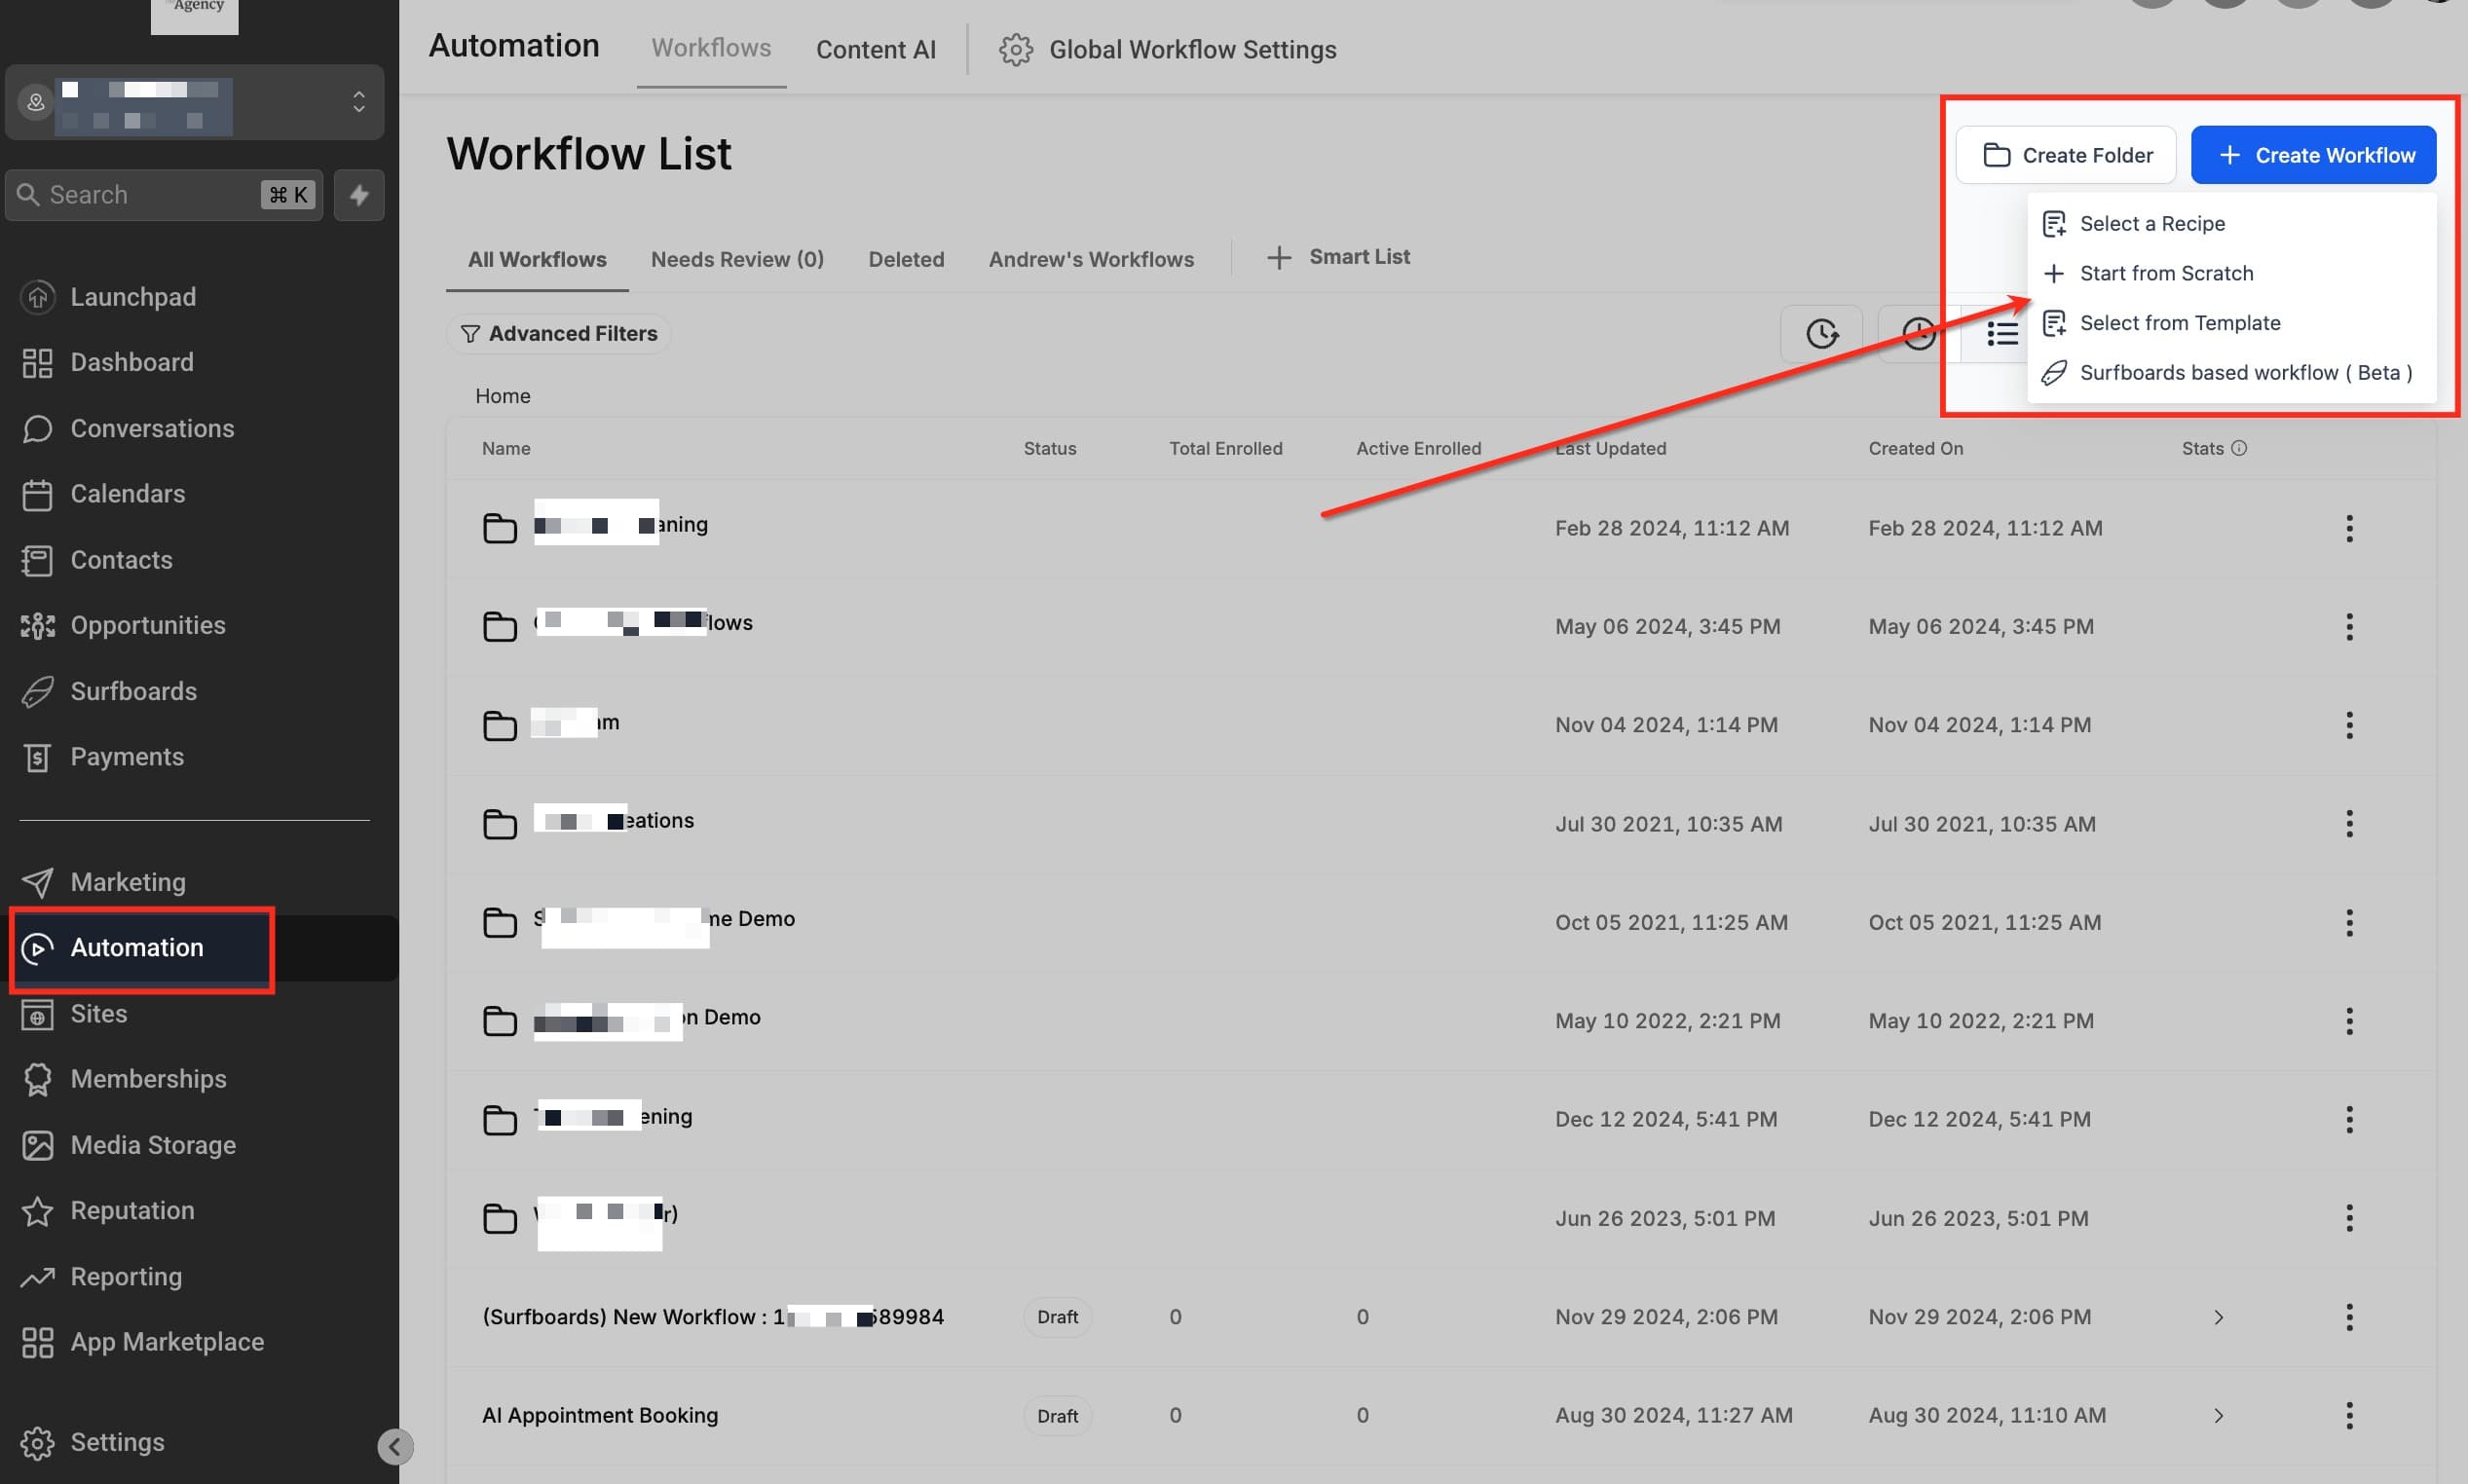
Step 3: Build the Workflow
- Go to Automation in the left-hand menu
- Click Create Workflow
- Give it a clear name — e.g.
New Lead — Facebook
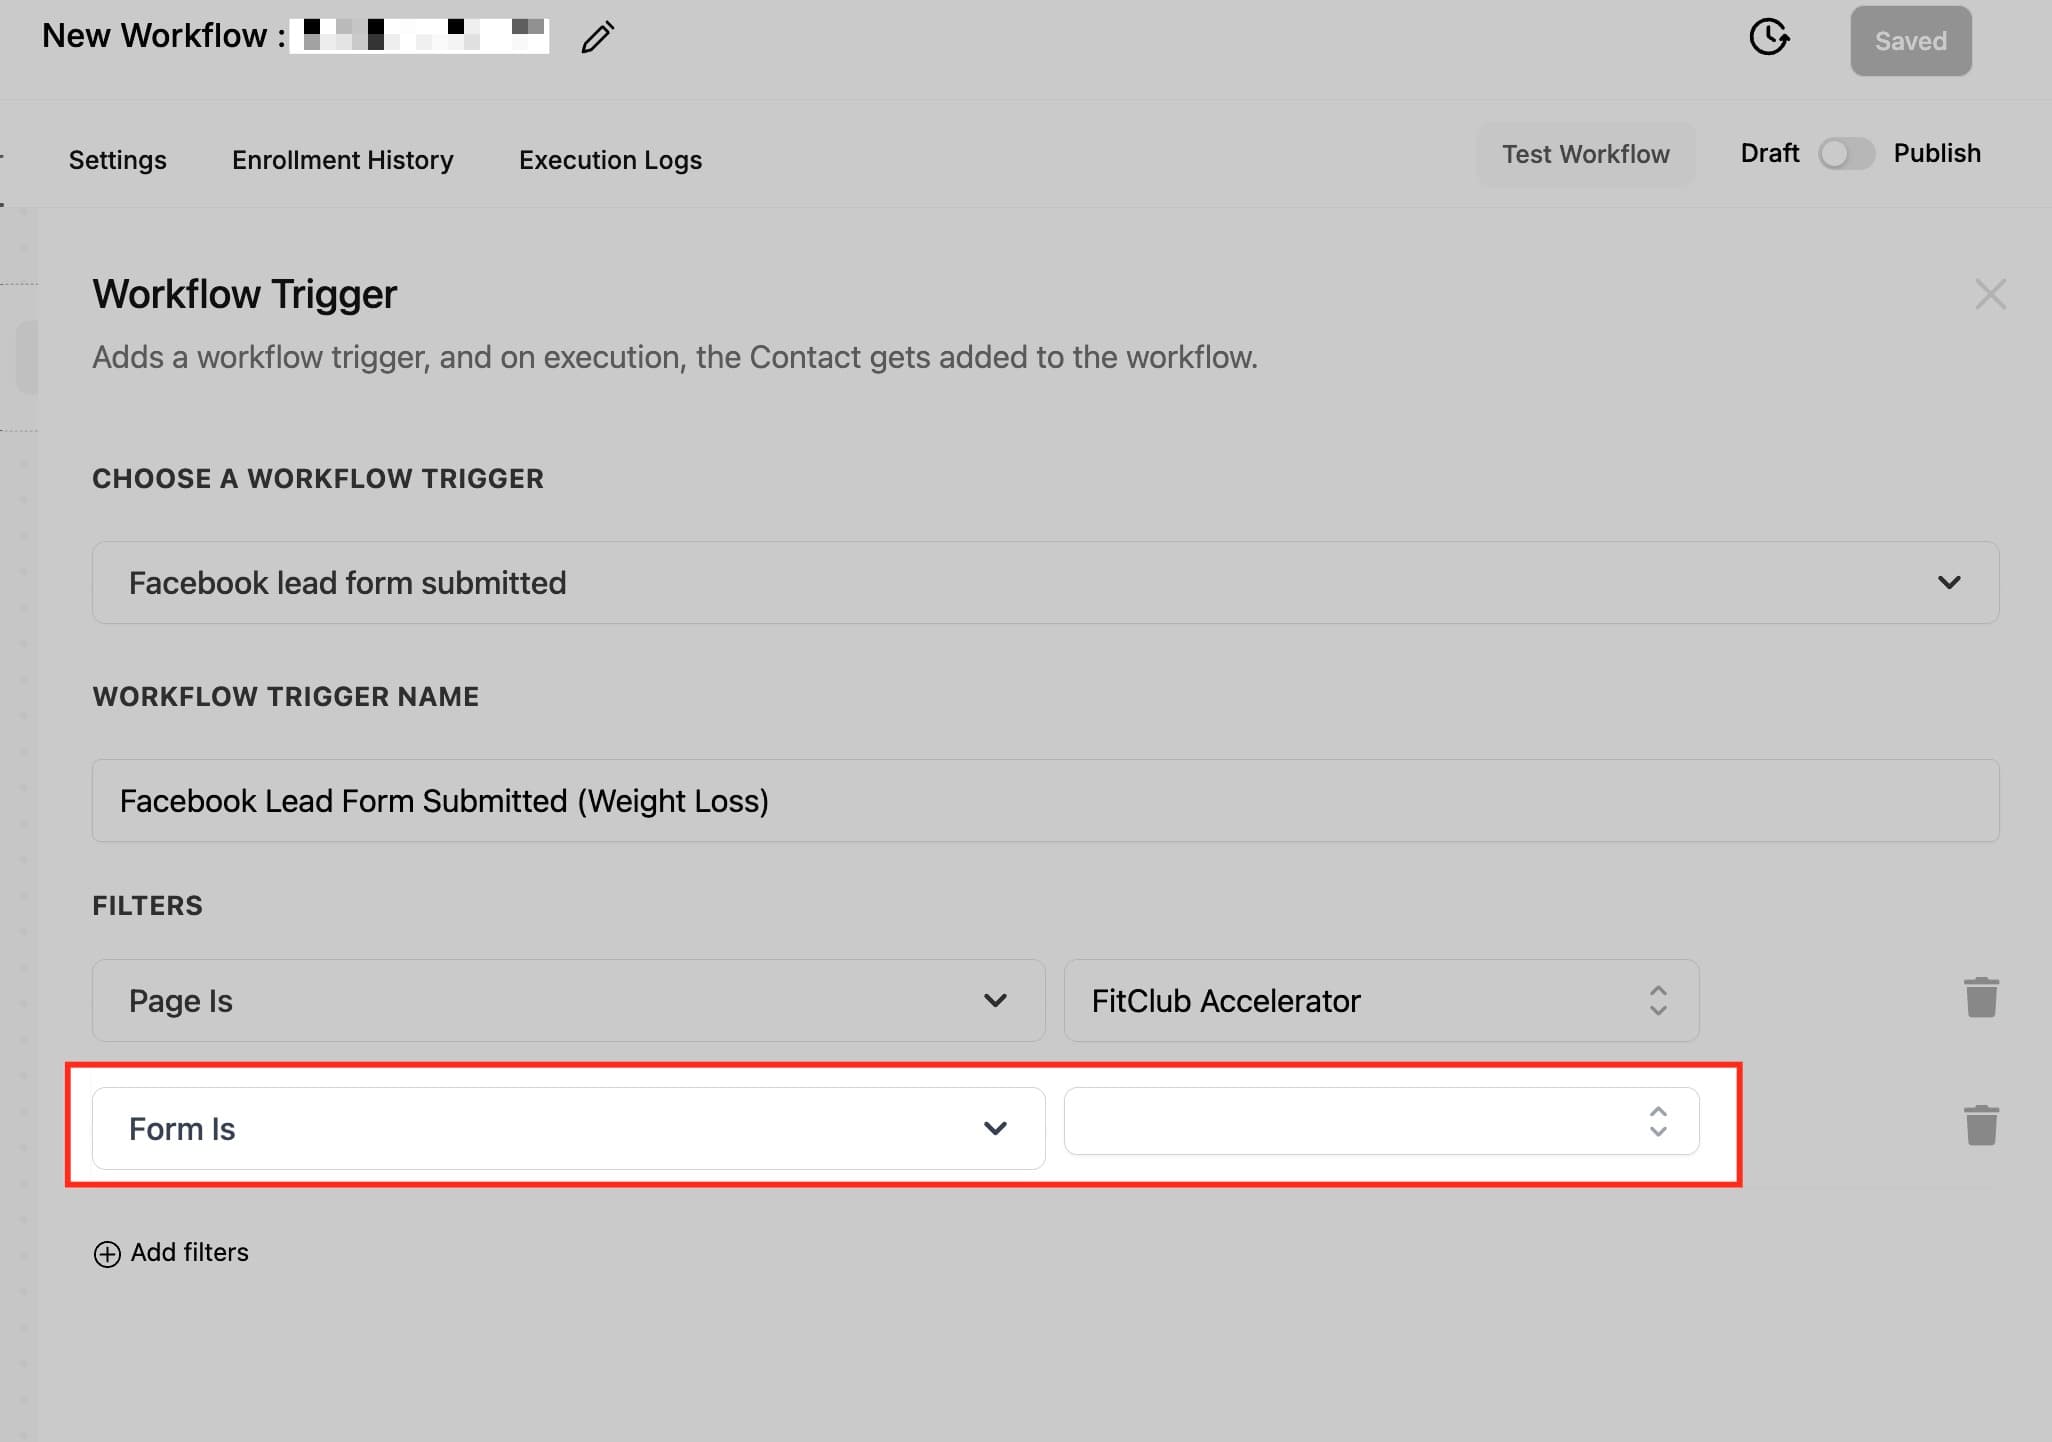
Set the Trigger
- Click Add New Trigger
- Choose Facebook Lead Form Submitted to trigger on Meta leads specifically, or Tag Added with filter
Source-Facebookif you want more control
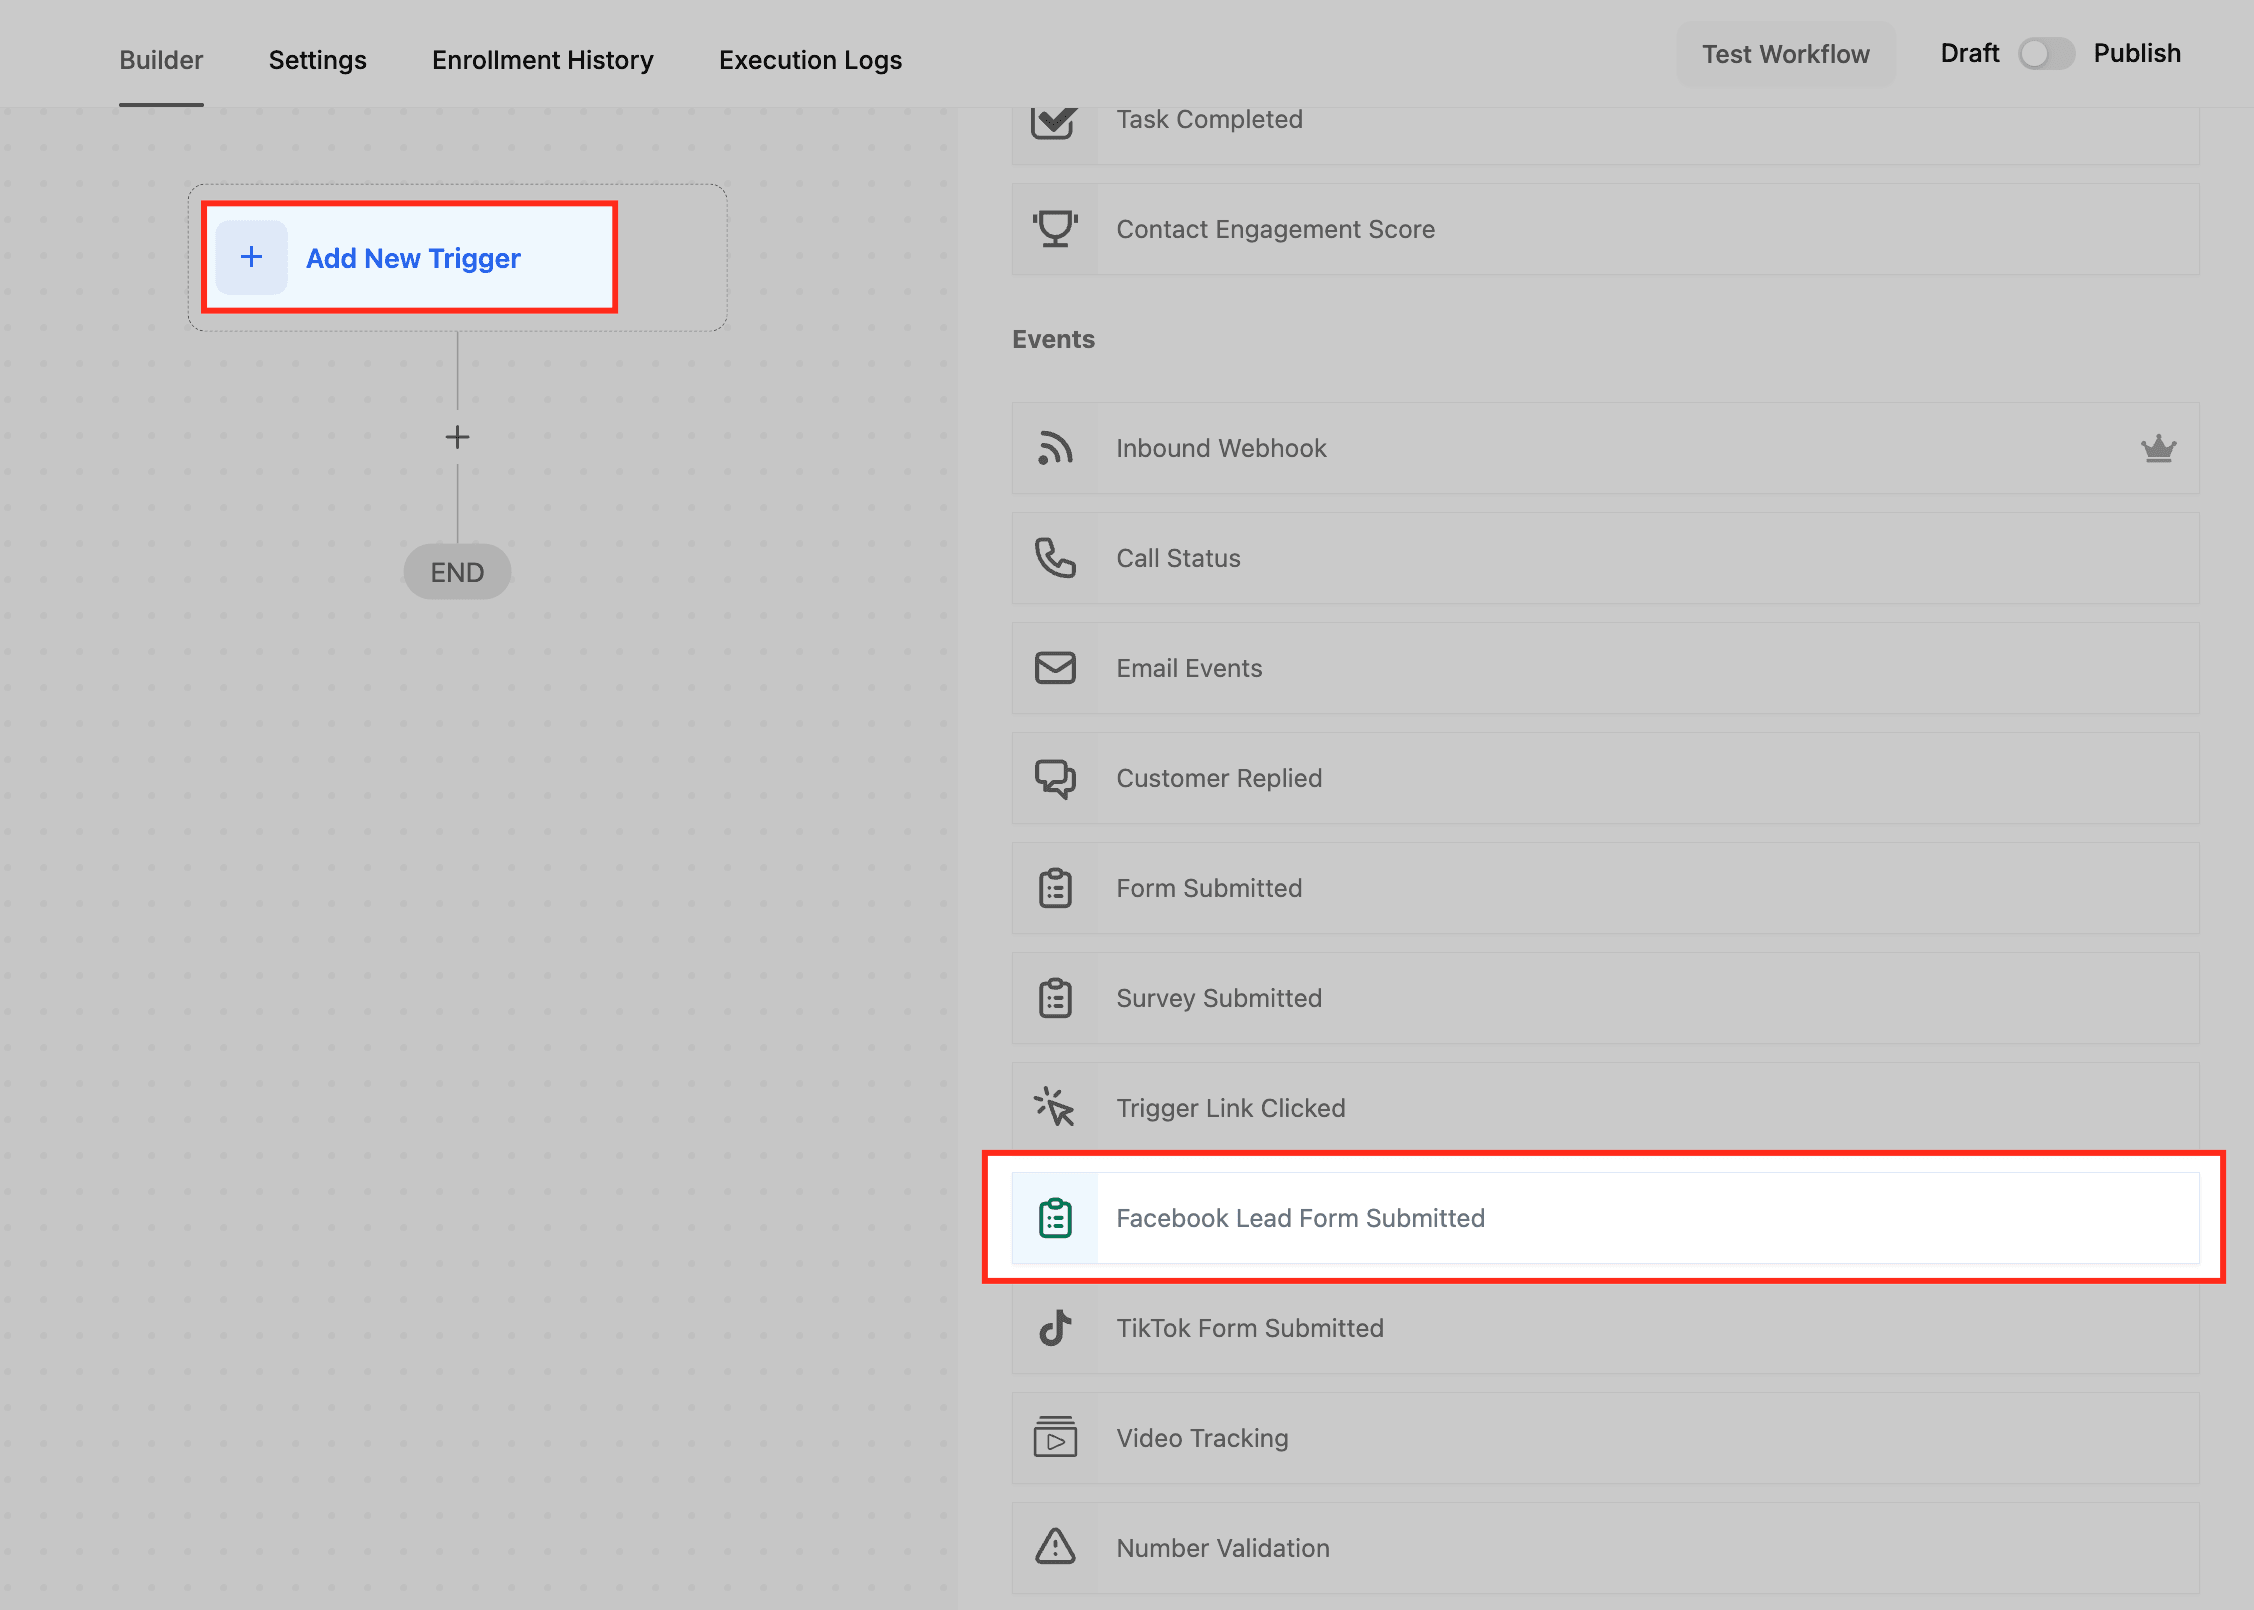
- If using Facebook Lead Form Submitted, add a filter to specify the page and form name
Add Your Workflow Steps
Here's the recommended sequence for a new lead from a Meta Lead Ad:
1. Apply Tags
- Action: Add Tag
- Tags:
Source-Facebook+ the relevant interest tag (e.g.Interest-Membership) - Also add
GDPR-Marketing-YesorGDPR-Marketing-Nodepending on what the form collected
2. Add to Pipeline
- Action: Add to Opportunity
- Pipeline: the relevant sales pipeline (e.g. Membership)
- Stage: New Lead
3. Send Confirmation Email
- Action: Send Email
- Template: Your enquiry confirmation email
- Reassures the lead their enquiry was received
4. Notify Your Team
- Action: Send Internal Notification
- Include the contact's name, enquiry type, and a link to their record in Capture
5. Wait, Then Follow Up
- Action: Wait — 1 hour (gives your team time to call first)
- Action: Send SMS — a short, friendly follow-up text
- Action: Wait — 24 hours
- Action: Send Email — a follow-up if no reply yet
Adjust timings to suit your club's process.
Step 4: Activate the Workflow
Once you're happy with the steps:
- Click Save
- Toggle the workflow from Draft to Published
The workflow will now run automatically for every lead that matches your trigger.
Step 5: Test It
Always test before going live:
- Submit a test lead via your Meta form (see Connecting Meta Lead Ads)
- Go to Automation > Executions and confirm the workflow ran correctly
- Check that the contact appears in the pipeline at the right stage with the correct tags applied
Troubleshooting
Workflow isn't firing
- Check the workflow is Published (not Draft)
- Check trigger conditions match exactly — tag names are case-sensitive
- Confirm the contact actually has the trigger tag applied
Contact isn't appearing in the pipeline
- Check the pipeline and stage names in the workflow match exactly what's in your account
- Check the contact doesn't already have an open opportunity in that pipeline
Team isn't getting notifications
- Double-check email addresses or phone numbers in your internal notification action
- Check spam folders for email notifications
Tags aren't being applied
- Make sure you're using the exact tag names from the list above — even a capital letter difference will cause a mismatch
Need Help?
Contact your Capture account manager or email james@crm.golf.